Showing posts with label sewing. Show all posts

Friday, August 31, 2012

Little Red Riding Hood cape

Recently I was delivering the children's address at church, and I needed to recount the story of Little Red Riding Hood to help to illustrate the verse.  I made up this cape to help to illustrate the story.

It was extremely easy.  I used this free pattern and whipped it up in an hour or so.

Now we have a Little Red Riding Hood dress-up.  Very satisfying to run up when I haven't felt motivated to sew anything for a while.

Tuesday, July 17, 2012

the final winter coat


Here is Miss 3's new fleece coat.  She was so disappointed when I presented Miss 5 with her pink coat, that I had to make one for her too.  This one went together much faster than the first one.  It's very cute.

Wednesday, July 11, 2012

Rice & lavender filled heat packs


I have just finished making up some new heat packs.  We seem to lose them with great regularity in our home.  Admittedly the last lot I made ended up keeping the baby chicks warm last winter [instead of using a heat lamp].
This time I used a soft towelling fabric, and made a variety of sizes and shapes.  They contain rice and dried lavender so should be lovely and aromatic while warming up our sore muscles/acting as hot water bottles in bed.

Have you ever made yourself rice or wheat packs?  They're super-easy, just sew the shape you're after and fill with rice or wheat.  You can add dried lavender, as I did.  Far cheaper than buying them, and you can make them as pretty as you like!!

I've always intended to make plain calico ones, and then make a pretty cover for them, so that if the cover gets dirty I can wash it [you can't wash them filled with rice/wheat].  But again I haven't done that this time... I always seem to be rushing to get some made up when myself or one of the family has muscular aches and pains, or another urgent need for a heat pack.  Just another incidence of my sewing things in a rush, last-minute!!

Thursday, July 5, 2012

pink fleecy coat

A few weeks ago I was wandering through Target and they had 30% off kid's coats and jackets.  I found a beautiful taupe trench style coat for Miss 9 and then this lovely grey fleecy coat for Miss 7:


Then I realised Miss 5 had also grown out of her winter jackets.  So I traced a pattern off the grey coat and made her up a pink fleecy version:


It's so cute.  Miss 5 loves it.  Of course the first thing Miss 3 said was "Where's mine?" so I get to make another one now!!

Monday, July 2, 2012

Gift wrapping storage - genius!!

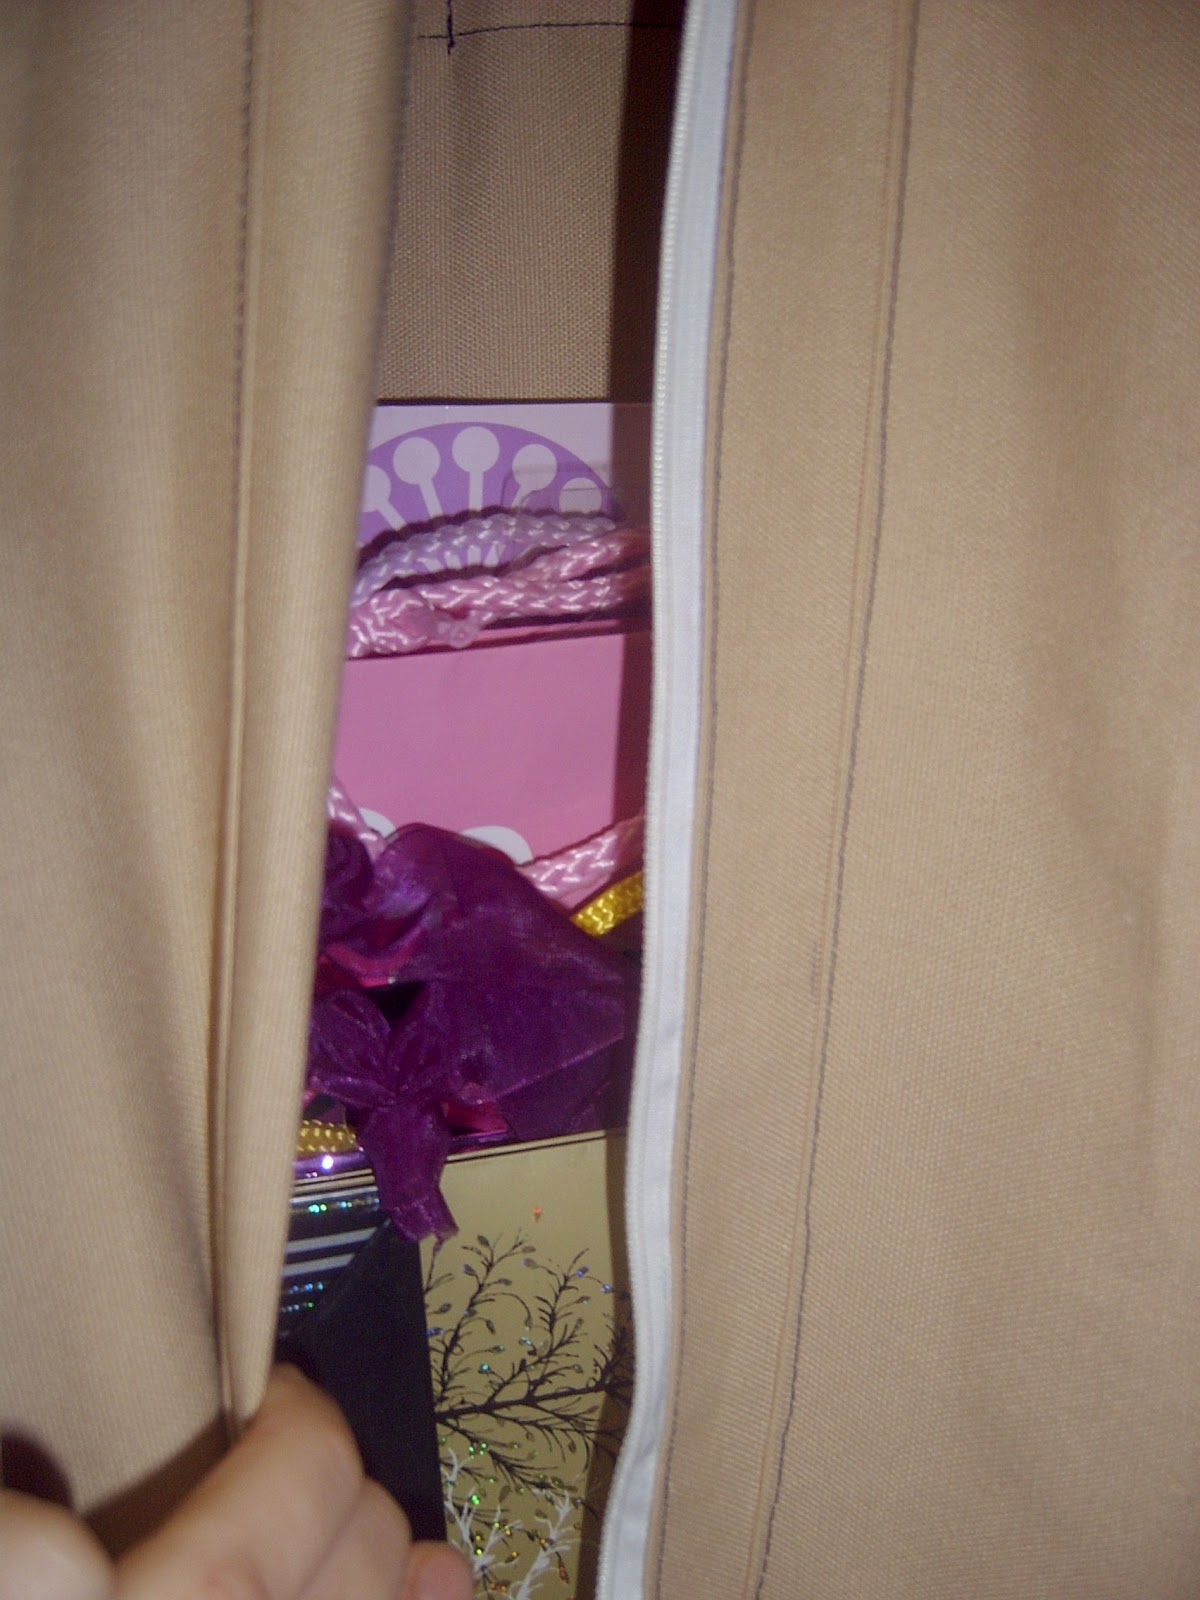
Look what's hanging in my wardrobe today.


Can you guess what I have made myself?


It's a hanging gift wrap storage/organiser.  I have had the pattern sitting in my stash for years [bought for another project included in the pattern].  I noticed the photo while staring at the back of the pattern envelope and realised it would solve my gift wrap storage dilemmas.


As well as the long pockets on the outside for long rolls of paper it has plenty of room inside the zip to store gift bags of every shape and size.


Then on the other side are loads of pockets of various sizes that hold pens, tape, scissors, cards, ribbons and anything else one may need for gift wrapping. 


Before I filled this today my gift wrapping stuff took up twice this amount of space and was always getting damaged/lost.  I am so excited to finally have it all organised and IN THE ONE PLACE.

It is constructed from canvas as I had some lying on my shelf asking to be used.  You could use any heavy duty fabric for this project.  It's just a suit bag with external pockets.  Brilliant.  I wish I could say I had come up with this idea myself. 


Sunday, June 24, 2012

first Emmeline apron


I have a friend who turned 40 this week and to celebrate I made her an apron.  This is the Emmeline apron, a pattern I have owned for a long time but until now not made it up.  I will definitely be making one of these for myself!!  It is completely reversible, and very cute to wear.  A long time ago I made a similar apron for my sister, but without a pattern.  I would totally recommend the pattern for this apron, it's a far better shape and fit!!


I love that it is reversible, so you can have your flowery, girly side, or funky side depending on your mood.  Now to sort through my stash and find fabric I love to become this apron for me...

Monday, June 18, 2012

spiral skirt trial


Here is a skirt I made this week for a dear friend.  You can't tell from the photo, but it is a spiral skirt, each panel of the seven gores starts at the waist and spirals down and around the hem.  It is a pattern I have made before, and is lovely and twirly to wear, without having too much fabric around the tummy and hips.
Now that I've tried it in this fabric and it fits her so beautifully, I'm going to try again in a denim.

Tuesday, May 8, 2012

I thought you'd like to see a bridesmaid dress in action

This is one of the three dresses 'in action' walking down the aisle at the wedding.  They turned out very well. 

Thursday, April 26, 2012

The completed bridesmaid dresses - and lessons learned along the way

I've done it.  They are  complete.

The dresses look lovely.  And now I can move on to other projects.


I have learned a lot of lessons from making these dresses:

1. I enjoy sewing formal dresses, 'couture' sewing, if you like.
2. I find it difficult to stick to a pattern, but like to alter it [same with recipes] as I always seem to find a way of improving it.
3. It is good to give yourself early deadlines, so that when the things of life come up [sick kids, funerals, unexpected crises etc.] there is still time to complete your project.
4. I do not enjoy sewing three identical items.
5. Chiffon is not as scary as I thought it would be to sew.
6. Chiffon is really difficult to cut out.
7. Making a dress for a lady who has just had a baby will mean multiple fittings and alterations.
8. It is essential to let your fitees know thay have to wear THE SAME undergarments [ie. bra] to each and every fitting.
9. Plan how long it will take you to hand sew the hem and linings and then multiply by 2 or 3.
10. Rolled hems are a great finish for chiffon.
11. Measuring hems from the ground up is the easiest way to get a straight hem.  Use a ruler.
12. Invisible zips are not that difficult to insert, and give a far better finish than a regular zip in a formal dress.
13. Always make sure the base of your iron is clean BEFORE you press seams, or iron the finished garment.
14. Sharp pins are essential for any sewing, but even more important when sewing satin and chiffon.
15. If you have snags on your finger nails, file them before handling chiffon.
16. Read the pattern all the way through before starting to sew.
17. It is more efficient to sew the same seams three times in a row, than to make each dress one at a time [production line sewing].
18. I have now realised that I enjoy sewing for my family, but I would not like to sew as a career, it was not fun by the end.

Saturday, April 14, 2012

a cute holiday project

I am so proud of Miss 9.  She hand sewed this doll all by herself over the Easter weekend.  Actually it only took her a day.  I found the kits at Aldi and thought it might be a good holiday activity to keep her and Miss 7 busy for a week or so.

I really wish I bought more kits at the time - the holes were pre-punched in the felt, and everything required to complete the doll was in the little box.  Isn't it adorable?

Thursday, April 5, 2012

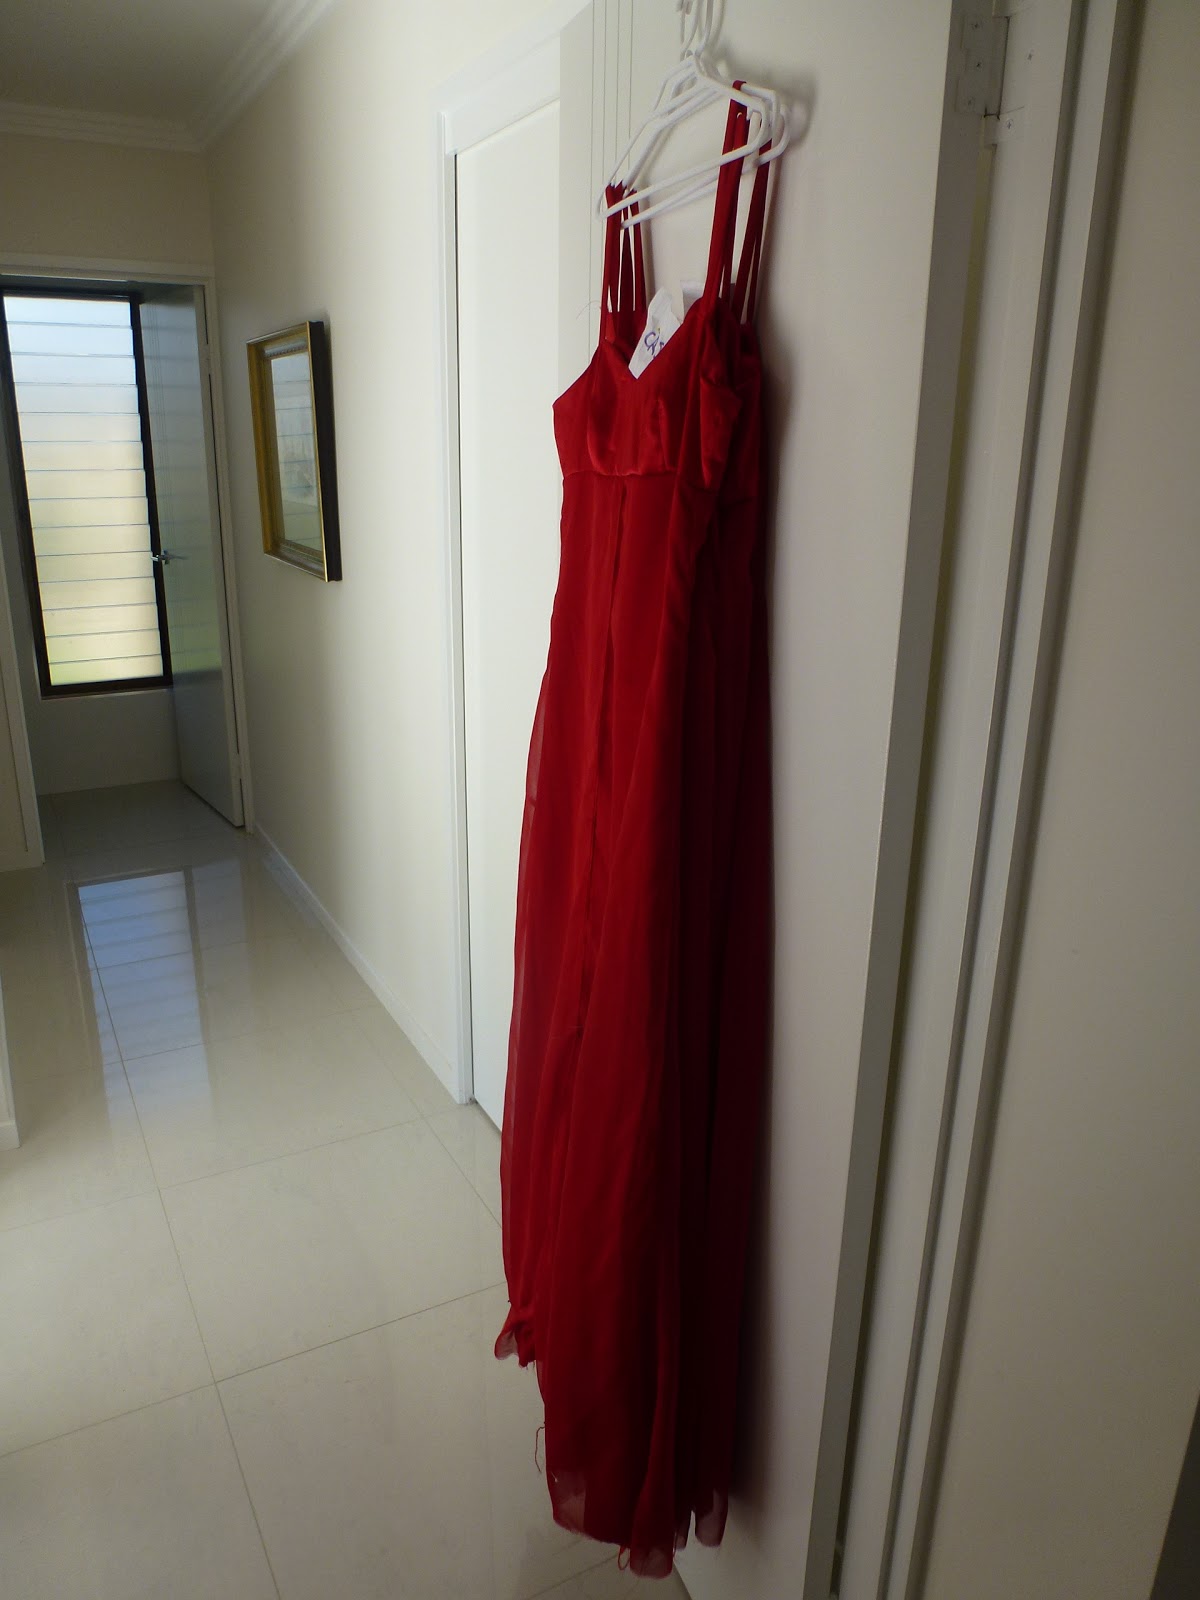
bridesmaid dresses

Here they are, all ready for final fittings and hemming.  Nearly done.

Sunday, March 18, 2012

bridesmaid dress update

It always amazes me how fabric like this:
can turn into a lovely dress.

I have all three dresses coming along nicely now.  To be honest I had hoped to have them finished by now, but life is busy sometimes, and my sewing machine always ends up at the end of my 'to do' list each week.  I hope to have a photo of them hanging on hangers awaiting final fitting very soon.

Thursday, March 15, 2012

Why you should always pre-wash your fabric

This is the inside of a hat I made for Miss 8 recently.  Her school swimming carnival was the other week and her team is red, so she wore it inside-out [team spirit].  The floral fabric was pre-washed, as I do with all my fabric when I first purchase it.  The red spot fabric I didn't pre-wash, as I used it to make the strawberry bags I made as Christmas gifts late last year.

Of course the day of the swimming carnival it rained.  And this photo is evidence of why you should ALWAYS pre-wash all the fabric that enters your sewing room:

 Unfortunately the photo doesn't do the pink mottled flowers justice.  I know it's annoying to pre-wash fabric before you use it, but believe me, it is worth it.

Saturday, March 3, 2012

hats, hats, hats

If you've ever lived in Australia, especially in Queensland, you will have heard of the ad campaign to "Slip, Slop, Slap".  It's been around since the 80's, a way of reminding us to prevent getting sunburnt [and therefore skin cancer] by SLIPPING on a shirt, SLOPPING on sunscreen, and SLAPPING on a hat.
 
Every Sunday after church my girls play in the church yard: tag, cricket, hula hoops, and anything else they feel like.  But we always seem to forget to bring hats, and the baseball-style caps I've been keeping in my car just don't protect your face, ears and neck well-enough.
So last week I decided to fix this problem by sewing hats especially for church.  They are fully reversible, so two hats in one, and the brim can be flipped up on the ends for a curled style brim if preferred. 
 I have had this hat pattern in my stash for years.  Literally years.  I don't know why I didn't make it up sooner.  It is just lovely, easy to sew and quick.  I made these five hats over two evenings, production-line style.
Of course, the first time we took our hats with us, it rained!

Sunday, February 26, 2012

A purple nightie for a purple-loving princess

Miss 6 [soon to be 7] is a real princess.  With the exception of her school uniform, she rarely wears anything but dresses, and nighties to bed.  Shorts are too "boy-ish" in her words.

I am often making dresses and skirts for her [and the other girls] but I have always bought their PJ's.  But it is getting increasingly difficult to find modest and/or appropriate PJ's for my girls.  They're either covered in phrases or images I don't think are age-appropriate, or are styles too grown-up for a 6 year old.

So this week I ventured into the world of jersey and sewed my first ever nightie, and for the first time I sewed jersey.  This is actually a test, but because it is purple [her favourite colour] and it has a frill and it fits her, when she tried it on she decided not to take it off!

She has put an order in for another nightie, similar in style but adorned with a rainbow of frills.  I guess that means another trip to Spotlight is in order [Yay!]. 

Sunday, February 5, 2012

multi-zip pencil cases


Have you seen those pencil cases made entirely from zips?  My daughters have, and they thought that this year they would like one.  But then they informed me that those pencil cases that their friends have aren't very useful, because each zip opens into the same big pocket.  They thought it would be far better if we made pencil cases with multiple zips, each opening into a separate pocket.

So I did.

If you want to make one yourself you will need a number of zips, all the same length, and fabric cut into strips the same length, each strip 1 inch longer than the last.

Place two zips right sides together, with the smallest fabric strip behind.  Stitch together with a very narrow seam [2mm or less] using your zipper foot.

Open out the top zip, place the next fabric strip behind, and the next zip on top.


Stitch again with a very narrow seam.  Keep on repeating with zips and increasingly larger strips of fabric.

Open out and press well.  Add a narrow strip to the front of the bottom zip, and a large piece of fabric to the top zip.

The bottoms of the fabric strips will not line up, they need to be trimmed to the same length. 

Make binding or use pre-purchased binding and add to both sides and base of pencil case.

You're done.