Showing posts with label tutorial. Show all posts

Tuesday, June 26, 2012

TUTORIAL: make your own pom poms to cheer your team

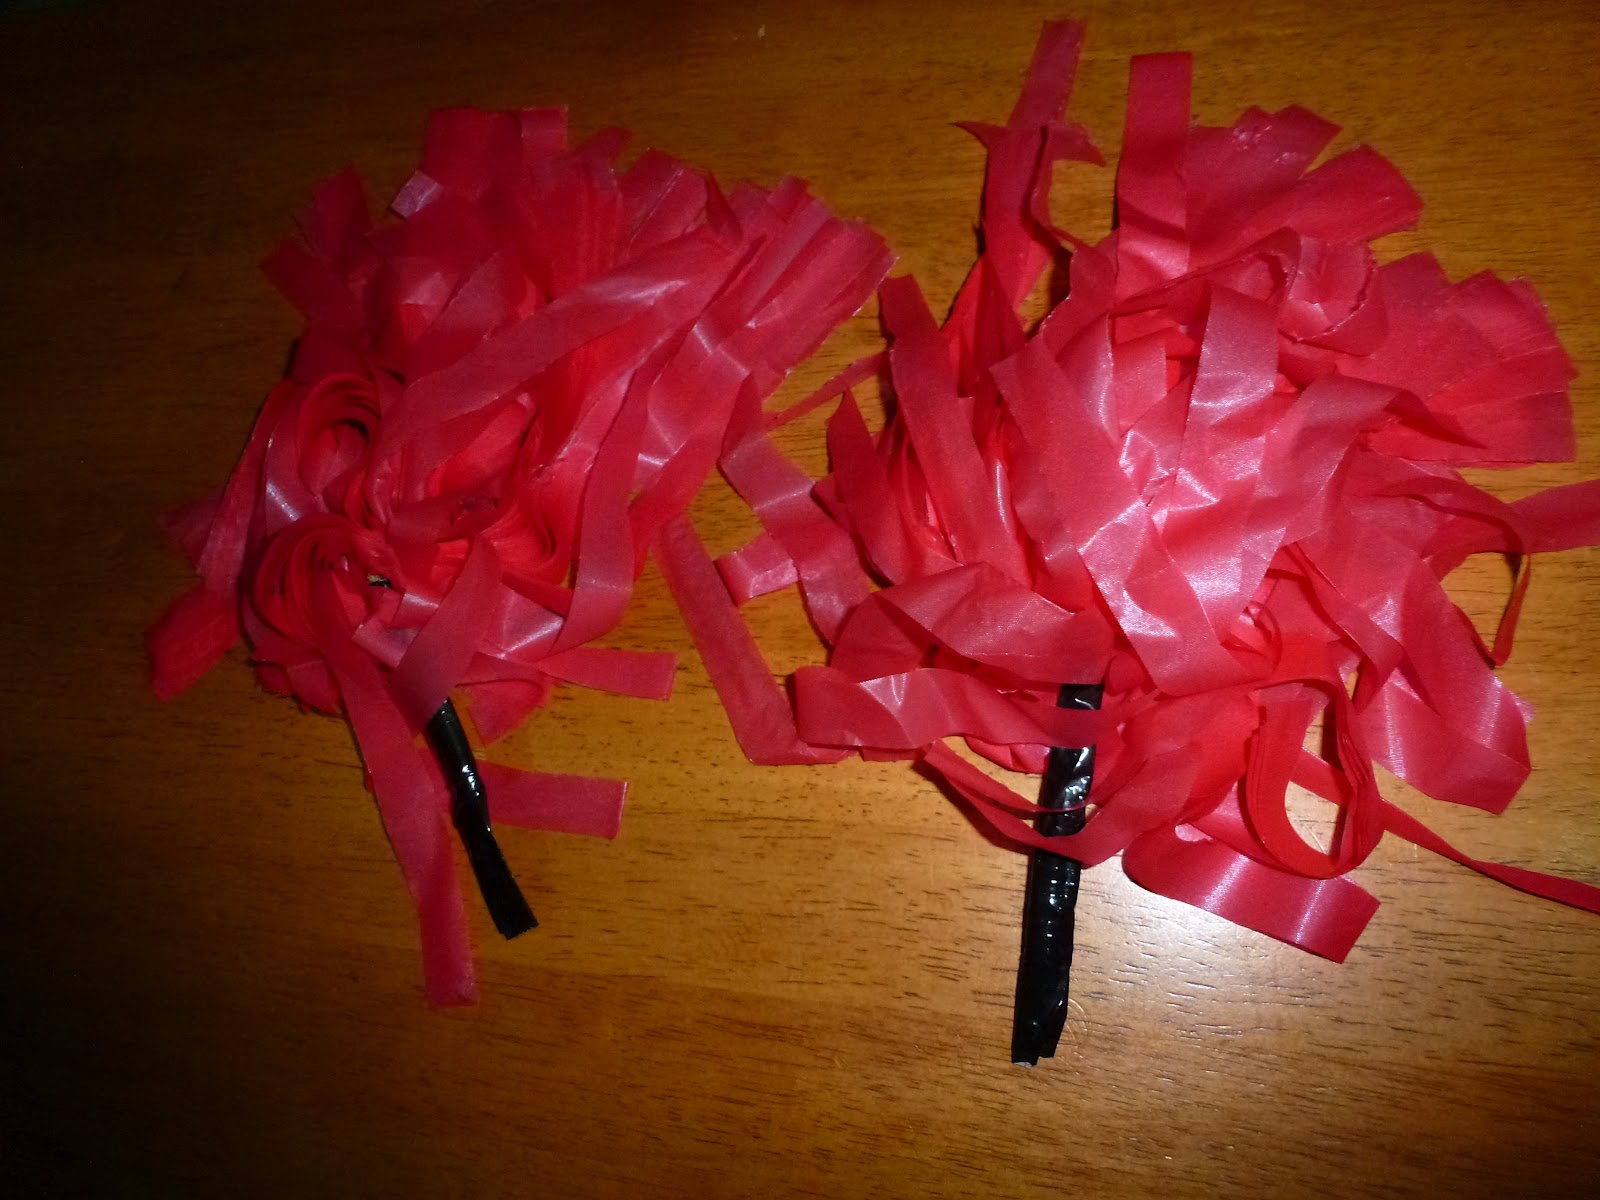
My girls have had school athletics carnivals in the past few weeks.  We made pom poms [also called streamers] for cheering their team mates on.  Unfortunately in my photos they look rather pink, in fact the pom poms are all RED in real life!!

 For this project you will need:
 string
gaffer or electrical tape
and either a disposable plastic tablecloth or crepe paper in your team colours.

Step 1: cut the plastic/crepe paper into roughly 1cm strips and lay them out on a flat surface.

Step 2: tie the strips together in the centre with string.

Step 3: push the streamers away from the ends of the string.

Step 4: wrap the string ends in gaffer or electrical tape to form a handle.

Step 6: twist each individual strand of the pom pom to separate the strands and make it 'fluff out".


I haven't made one [or two] of these since I was at school, but it was extremely quick and easy to do.  You could experiment with other types of materials to use for the streamers.  I chose the disposable plastic table cloth because I thought it would be more durable than crepe paper, and perhaps last more than one day.  You could also use fabric, knitting yarn, or other colourful materials of your choosing.


Tuesday, February 14, 2012

Crochet hangers

My grandmother was a prolific crocheter, knitter and sewer.  She used to make crochet covered hangers by the dozen, colour-coordinated to our bedrooms.  I never really appreciated them, and over the years have given a heap away, thinking they were old-fashioned and collected dust.

I decided to learn to crochet them myself.  After scouring the internet for a pattern I came up with one that worked for me, I needed simple to begin with.  I have to say I was pleasantly surprised at how quickly and easily they came together.

If you want to make your own, and you can crochet trebles [double-crochet in US terms] then you can make these!!

Just chain 20 to begin with, and then treble crochet in the 3rd chain from the end, all the way back to the beginning.  Then turn, and treble crochet back again.  When your rectangle is as long as your hanger, slip-stitch to join at one end and along the long side of the tube, fit the hanger inside [the hook part should be sticking out where you're joining with slip-stitches] and continue slip-stitching to complete the cover.

You could then embellish by crocheting a scalloped edge or flowers along the bottom, but I was time-pressured so I have left these plain. 

Sunday, February 5, 2012

multi-zip pencil cases


Have you seen those pencil cases made entirely from zips?  My daughters have, and they thought that this year they would like one.  But then they informed me that those pencil cases that their friends have aren't very useful, because each zip opens into the same big pocket.  They thought it would be far better if we made pencil cases with multiple zips, each opening into a separate pocket.

So I did.

If you want to make one yourself you will need a number of zips, all the same length, and fabric cut into strips the same length, each strip 1 inch longer than the last.

Place two zips right sides together, with the smallest fabric strip behind.  Stitch together with a very narrow seam [2mm or less] using your zipper foot.

Open out the top zip, place the next fabric strip behind, and the next zip on top.


Stitch again with a very narrow seam.  Keep on repeating with zips and increasingly larger strips of fabric.

Open out and press well.  Add a narrow strip to the front of the bottom zip, and a large piece of fabric to the top zip.

The bottoms of the fabric strips will not line up, they need to be trimmed to the same length. 

Make binding or use pre-purchased binding and add to both sides and base of pencil case.

You're done.

Friday, January 27, 2012

kids backpack - tutorial

The backpack construction is of two modified rectangles joined by a zippered gusset.  Take your main fabric and cut two rectangles of the approximate size you want your backpack to be. 

Fold them in half lengthwise and round the corners to the finished shape.


Take your lining fabric and repeat the process, using the main fabric as a guide.


If you want to applique or embellish the front of your backpack, now is the time to do so.


Cut gusset pieces out of main fabric and lining.  They must be as long as the circumference of your bag.  Cut the gussets in half, then sew together again.  I sewed two zips in, one in each end, and stitched in between.

You will have a long strip with a zip in each end.


Make shoulder straps from lining and/or main fabric.  I attached a short piece of elastic at the bottom of each strap, rather than making them adjustable.


Hold bag front and lining, WRONG sides together.  Do the same for the bag back. Pin straps to back of bag.  Baste.  Add a loop for hanging if desired.


Pin gusset to front and back and stitch.  Bind seams with contrasting binding.


Wednesday, January 18, 2012

Retro Apron Tutorial


You will need:
pretty cotton fabric
contrasting fabric for ruffle
fusible interfacing

Cut main fabric rectangle 44 x 13 inches.  Fold in half lengthwise and cut a curve from one corner to the base of the opposite long side.

Cut two pieces of waistband fabric 38 x 3.5 inches.  Iron interfacing to wrong side of bands.  Sew bands together.

Cut ruffle 6.5 x 114 inches.  Join fabric as necessary.  Fold and press in half.  Gather the raw edges and pin to the bottom of the apron.

Stitch apron to ruffle, press seam allowance towards apron and topstitich on right side of apron.

Mark waist side of apron with pins at following:

1.5 <-- 3.5 <-- 1.5 <-- 4 <-- centre --> 4 --> 1.5 --> 3.5 --> 1.5    [measurements are in inches]

Pin pleats and baste.  Attach waistband. 

Cut two ties each 7 x 24 inches.  Sew and turn ties, insert into the opening of the waistband and sew closed.

If you need more explanation, please let me know.  Unfortunately I didn't take photos when I was making my apron. 

Saturday, December 31, 2011

TUTORIAL - Kid's travel activity organisers

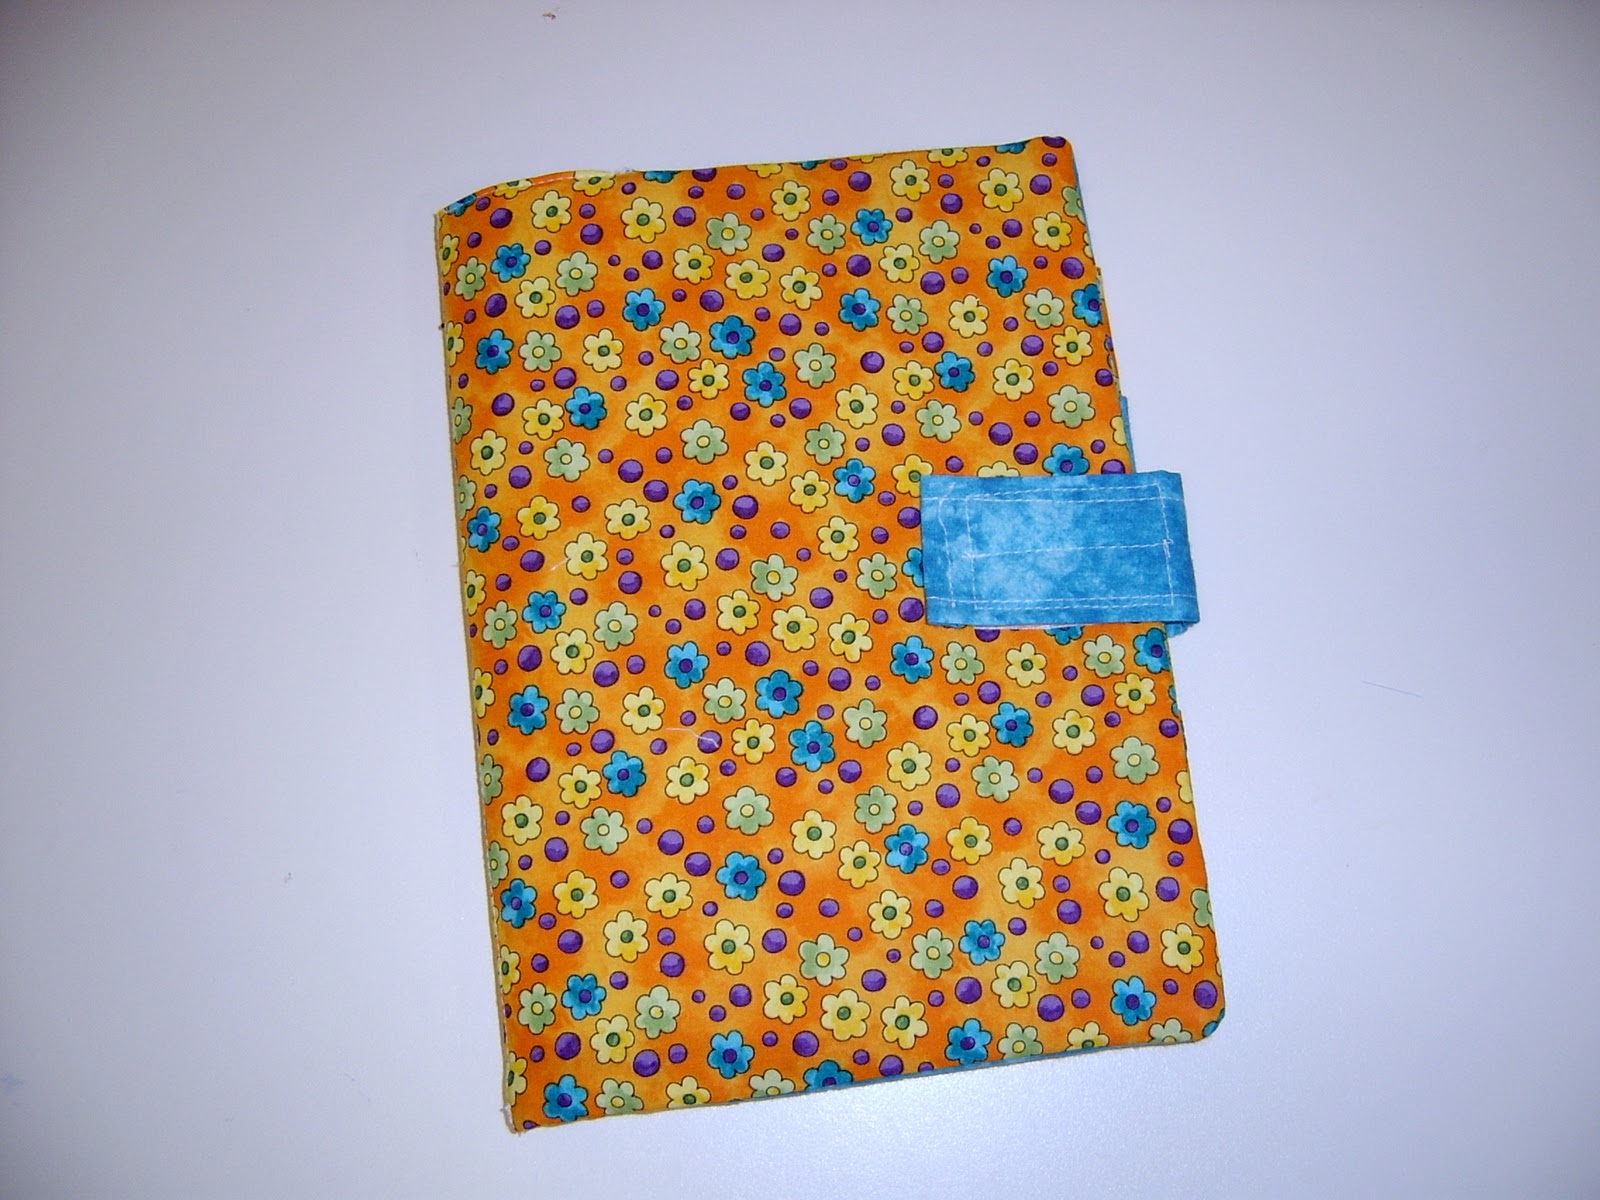
I made these activity packs back in September.  They were a desperate attempt to keep the kids busy on the plane.  I had no idea just how useful they would be.  We use them all the time.  They are very simple to make, here's how:


Decide how big/small you want your organiser to be.  I found a notebook I wanted to put in it and added 2 inches to each side.  The first rectangle you need to cut from your main fabric needs to be twice as big as this [the organiser is folded in half].

Pick a main fabric, and one or two contrasting fabrics.

I cut my front piece and lining piece according to my notebook measurement [plus 2 inches each side, and double the width].  The cut pocket strips that were the same width but 1 1/2 inches shorter than the last one.  Hem one long edge of your smaller strips [this will form the top of the pocket].

Lay the pockets one on top of the other and stitch down the centre to hold them together.

Fuse a fairly stiff interfacing to your outside cover piece.
 

Make a closure tab out of lining/scrap fabric.  Add velcro to the tab...
and to the cover:

Put the pocket pieces and cover right sides together, making sure your closure tab is pinned in the correct place inside this.  Stitch around the outside edge leaving a gap for turning.  Turn, press, and topstitch around the edge.


You are finished.  I made four different ones for my kids, and filled them with notebooks, stickers, books, pencils etc.  They have worked brilliantly on planes, while away on holidays, and at church.  I am considering making a slightly larger one for myself to carry things for me to do while I wait at school and dancing etc.

Tuesday, September 13, 2011

Heat Wheats - another UFO done [including tips for making your own]

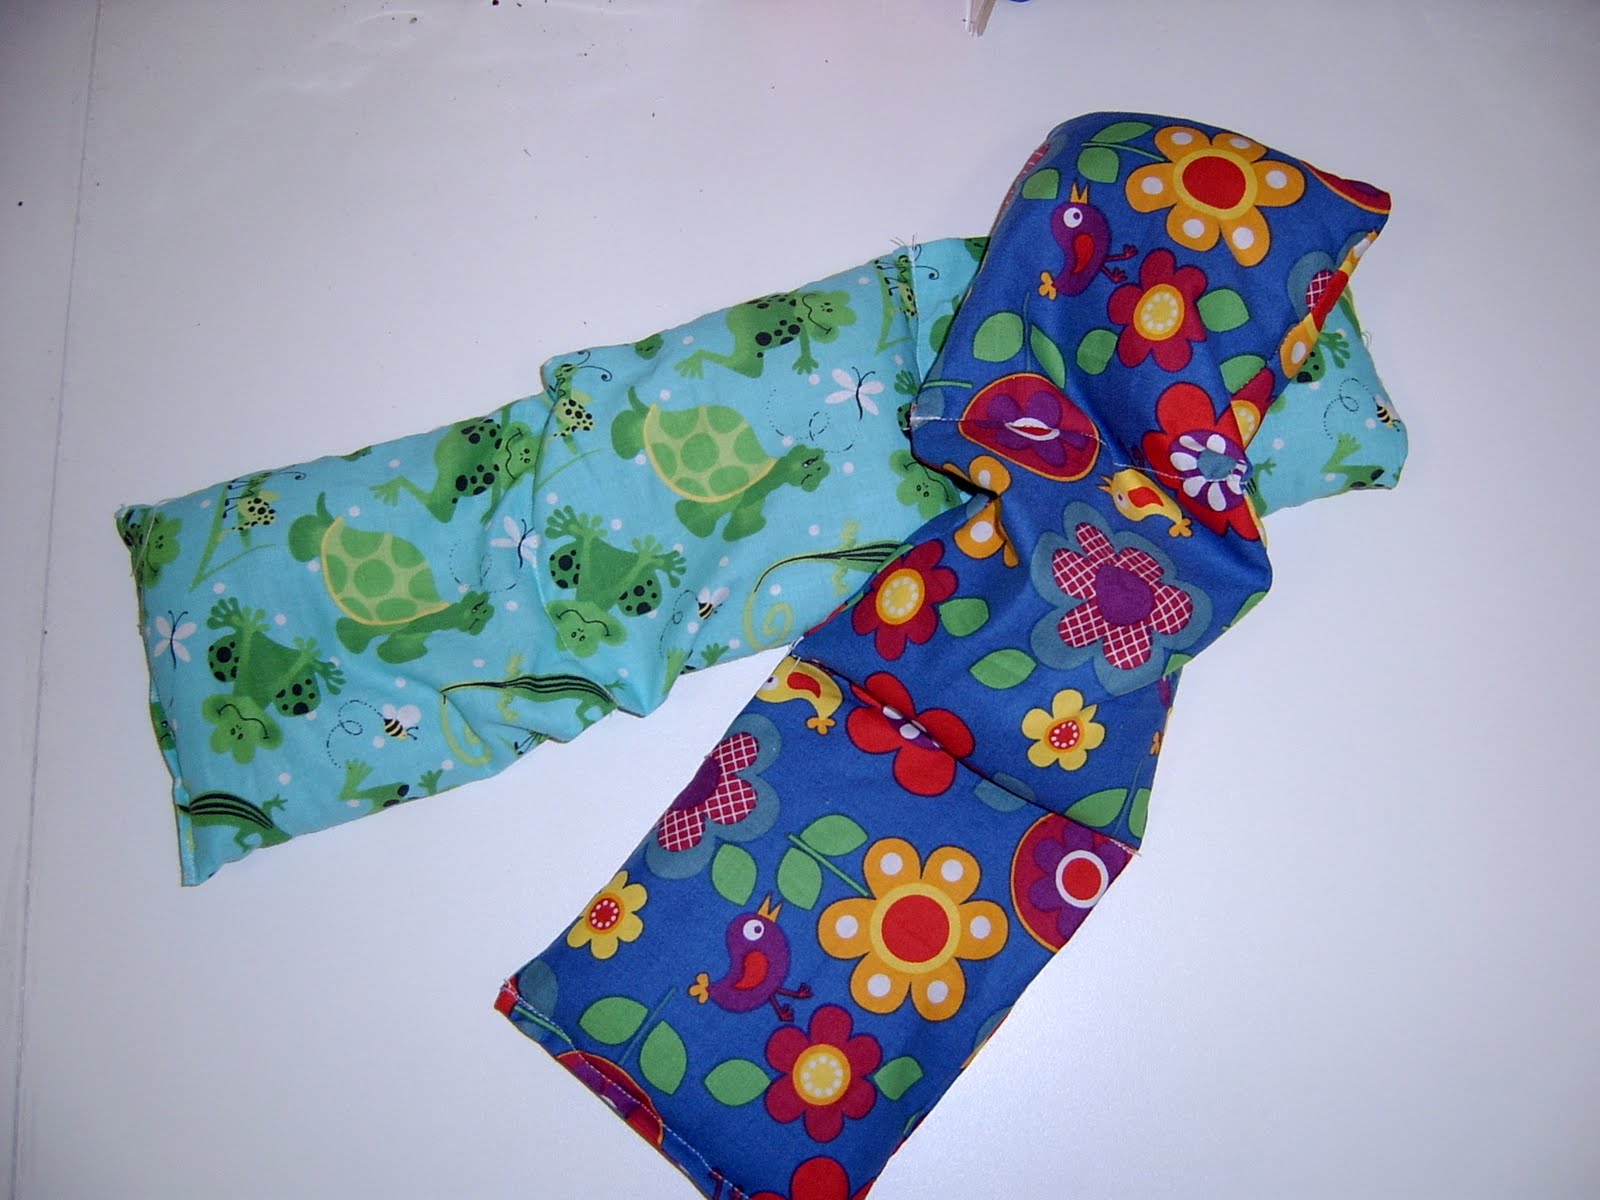
I bought a bag of wheat from our local produce seller ages ago.  I had intended to make heat wheats, new heat packs. But like so many UFO's I never go there.  I was trying to find a place to put the large, rather in-the-way bag of wheat today, when I decided it would be quicker to make some up than try to find a home for the heavy bag of wheat.  I was right.

 This is a shoulder/neck heat pack.  My previous one was a lovely maroon corduroy, but it had seen better days.  Aren't these lovely cotton prints?  When feeling sore, I think they have the potential to bring a smile to my face.

Miss 8 also decided to help me out.  Here are the two that she made:
If you decide to make your own heat packs at home, there are a couple of tips I've learned over the years I've been making them:
1. Sewing channels every so often while filling your pack make it work better - you don't end up with all the wheat down one end.
2. Spritz with water or put a glass of water in the microwave when you heat it up.  Otherwise they could catch fire.  VERY IMPORTANT.
3. Add dried lavender with the wheat when filling for a lovely aroma when it's heated.
4. Make up in a few different shapes for the different purposes you need them.
5. They work really well as bed warmers in winter - instead of hot water bottles or electric blankets.  Make a soft pillowcase for one out of polar fleece you can throw over after it's warmed.  My kids sometimes cuddle them on a cold night!!

Thursday, September 2, 2010

Wombat costume - tips on sewing faux/fake fur

It was Book Week last week and Miss 5 had a dress-up day at school [as her favourite book character]. She decided [much to my dismay] that her favourite book was 'Diary of a Wombat'. So I had to make a wombat costume:
I found a pattern in an old Top Kids magazine that I thought would work, and jumped in.

I learnt a bit about fake/faux fur while doing this project which I thought I'd share with you in case you one day have to sew with this medium too. I have to admit I was nervous before I started.

THINGS I LEARNED ABOUT SEWING WITH FAKE FUR:
  1. Expect the sewing room to look like you murdered a small furry animal in it.
  2. Use a craft knife and cut single pieces from the back, then comb all fibres away from seam allowance prior to sewing, that way you won't cut the fur itself and not only is it tidier [see point 1] but you won't see your seam lines.
  3. If you don't care about seeing the seams, use normal scissors - just make sure they're not your bestest most sharpest [or they won't be for long!].
  4. Use a medium width zig zag for seams instead of straight stitches [it doesn't catch the fur as much].
  5. The reverse side of fake fur can be a little scratchy. I lined this costume with satin so it felt lovely on.
  6. Make the costume bigger than it needs to be so that all your children [even bigger ones] can try it on... they'll want to!
  7. It's a very easy medium to work with - on this scale. Making something very small like a stuffed toy could prove more difficult.
I'll be using fake fur again, it was great fun to work with!

Tuesday, August 3, 2010

Simple apron

I finished off this apron for myself last night - I'm such a messy cook, I really need to wear aprons. This fabric is an upholstery grade fabric I picked up at IKEA before moving late last year.

It's a large rectangle, hemmed on all four sides, with the ties attached 8.5 cm below the top edge. I made the ties from scraps of red fabric I had lying around. I modified the idea from the apron in Kelly Doust's book 'The Crafty Minx.

Trialled the apron tonight - I was dubious, as it has no shape, but I just love it. Especially the fabric. So do my girls... they all want one "just like it".